
Learn to navigate and scrape dynamic websites with Selenium and Scrapy by extracting cryptocurrency data
If you aren’t new to data science you may have already come to the realization that you don’t always have the data you need to solve a problem. So, what do you do when you don’t have the information you need? You could resort to web scraping, but before you do there are some relevant points to take in consideration.
What are we doing when we scrape a website? Web scraping can be defined as the process of extracting the content of a website by programming bots to make different requests of data in HTML or XML and in some cases mimic human interaction (like clicking or moving the pointer to access certain elements that aren’t available at first sight, such as the content of dropdown menus).
Can we freely scrape the content of any site? We should always first check the site’s robots.txt by adding “/robots.txt” at the end of the main url. This file specifies the parts of the website that each user can scrape, and in some cases the rules they should follow while doing so. In short, if in the txt for “user agent: *” you see either “Allow: /” or an empty “Disallow: ”, there’s no restrictions placed on generic users (for further information about how to interpret it you could check Google developers documentation on how to create a robots.txt). However, even if we find that there are no restrictions, we should still be careful with the amount of requests we are making.
Are there any issues that may stop us from scraping data for extended periods of time? Yes, as we are extracting HTML/XML content, if there is any change in the website’s design/structure/naming of elements, our script is set to fail. Nevertheless, we could take some measures to make our code flexible enough to cope with some minor changes:
- Prioritize searching by xpaths instead of just using class names or ids;
- If possible avoid using too many filters on the paths;
- Follow the shortest path to reach the data you need;
- Manage errors and exceptions by providing alternative actions;
- When filtering by a matching text, use contains, starts-with or ends-with.
What Python Libraries should you use? I tend to combine Selenium with Scrapy, as this allows for a more functional and flexible scraper. Even though Selenium is mainly designed to test web-based applications, it is particularly useful to scrape dynamic websites. Scrapy, on the other hand, was specifically created to scrape websites really fast, but falls short when working with dynamic sites.
A practical case: Cryptocurrency data
For this guide we’ll be scraping Coinmarketcap, a website that contains data of several cryptocurrencies. This example is expected to provide you with enough tools to tackle most of web scraping simple problems, as they commonly consist of browsing through different elements of a site, filling forms, scrolling, selecting items of hidden menus, closing pop-up elements and extracting content, all by inspecting various paths. An enhanced version of the full code can be found in the following github repository:
1- Install and import libraries
# General libraries
import pandas as pd
import numpy as np
import time# String preprocessing
import re
import string# Scraping tools
from selenium import webdriver
from selenium.webdriver.common.action_chains import ActionChains
from scrapy import Selector
2- Chromedriver installation on Linux and Windows
To be able to use Selenium, we first need to download a WebDriver controller. This will allow us to interact with a website as if we were a real user. Selenium supports several browsers such as Firefox, Internet Explorer, Opera, Safari and Chromium (Chrome). In this case we’ll be using Chromium.
If you work with Linux like myself, you should run the following commands on the terminal:
sudo apt-get update -y
sudo apt-get install chromium-chromedriver
If you are a Windows user, download Chromedriver from the following url https://chromedriver.chromium.org/downloads. The version you have to install must match your current Chrome version. To know which version you have, open your Chrome browser, and enter “chrome://settings/help” on the search bar. You’ll be able to find the version below the title “About Chrome”. In my case I have Version 90.0.4430.212.
Once you’ve installed it make sure to either save the executable on your working directory or identify the path where it was saved. We’ll need this in the following step.
3- Specify the webdriver and open the website to scrape
First of all, we have to set up the chromedriver. Before calling it, we can choose it’s initial configuration, i.e. starting with a maximized window, using a headless browser, or specifying a proxy server. Note that each driver has a different way of setting the options so if you decide to use another browser such as Firefox, you’ll need to check for the specific documentation.
After that, we declare that we’ll be using Chrome, and set the path of the chromedriver (in this case it’s in the working directory so we just type “chromedriver”). Next we call the url by making a request using the browser class instance. This will open a Chromium window with the url we’ve passed.
# Set the browser to start maximized
custom_options = webdriver.ChromeOptions()
custom_options.add_argument("--start-maximized")# Call the driver and pass the custom options
browser=webdriver.Chrome(executable_path="chromedriver",\
options=custom_options)# Specify and open the url you want to access
url= "https://coinmarketcap.com/en/"
browser.get(url)
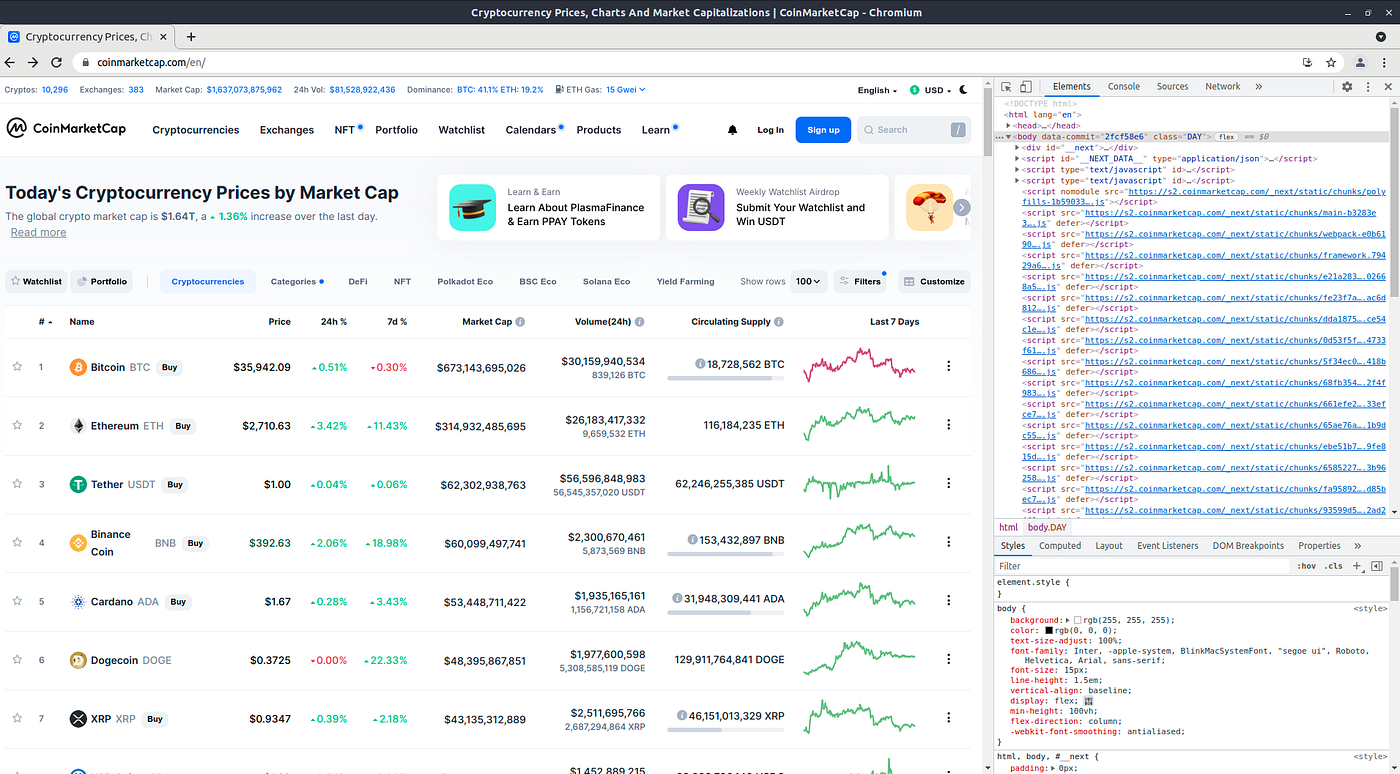
You should be seeing something like this:

Now that we are in the main site, we’d like to first picture where is the data we want and how can we efficiently reach it. For example, if we’d like to get historic data on a specific currency, we have 3 possible paths:
A) Click the name of the cryptocurrency if it’s on the main page, select the “Historical Data” option and choose the date range.
B) Go to the search box, enter the token abbreviation, select the “Historical Data” option and then choose the date range.
C) Instead of accessing the main site, directly go to the historical data page and then choose the date range.
Which one should you choose? That depends on your objective. If you’d like to get data on many currencies you’ll probably be better off by always starting from the main site and then looking for the token in the search box. However if you are only interested in one crypto, going straight to the specific url will be more efficient.
We’ll proceed with option B), to extract data of Bitcoin (BTC), Ethereum (ETH), Cardano (ADA) and Dogecoin (DOGE).
4- Access the XML paths to the relevant content of BTC
As mentioned at the beginning, while scraping websites we are extracting the HTML/XML used to build the website. In order to see it, right-click anywhere inside the site and click the “inspect” option. This will open the developer tools on the right side of the window with the site’s elements. Alternatively, depending on your keyboard configuration, you could just press F12.
Now, we need to find the XML path used for the search box. We can do this by repeating the “inspect” procedure but this time, right clicking the search box. From this we learn that the Search box path looks like this:

But… there’s no direct path to enter the token we’d like to search since this is a dynamic website. So, we first have to click the search box to be able to see the path used to send content. Here you have two ways of clicking the search box element:
# By using the text inside the div element
browser.find_element_by_xpath("//div[contains(text(),\
'Search')]").click()# By using the class name of the div element
browser.find_element_by_xpath("\
//div[@class='q0coyt-1 fOZYHf']").click()
In both cases, we are using the method “find_element_by_xpath” to look for the first WebElement that matches a path. Inside the method, we start by writing “//” which means we’ll be calling a path that has an element (in this case a div) regardless of what came before. Next we filter the element by some condition.
With the first option we look for the div element that contains the string “Search” (if you’d like to look for an element that starts with “Search” you can replace “contains” for “starts-with”, the same goes for “ends-with”). The other alternative looks for the path that has a div with a specific class. Note that if we wanted to pick all the elements with a certain path, we could use “find_elements_by_xpath”, which returns a list of WebElements.
Now that we’ve clicked the search box we can inspect again the element to look for the path to send the content we want to look for:

Next we need to give this path to the browser object and send the string of the token:
# Find the opened search box element by searching the placeholder
opened_search_box=browser.find_element_by_xpath(\
"//div/input[@placeholder='What are you looking for?']")# Specify what we want to look for
token = "BTC"# Send the token and press enter
opened_search_box.send_keys(token+ "\n")
Note that we first save the “opened” search box element and then fill it by sending the token and adding a “\n” which works as a keyboard ENTER button.
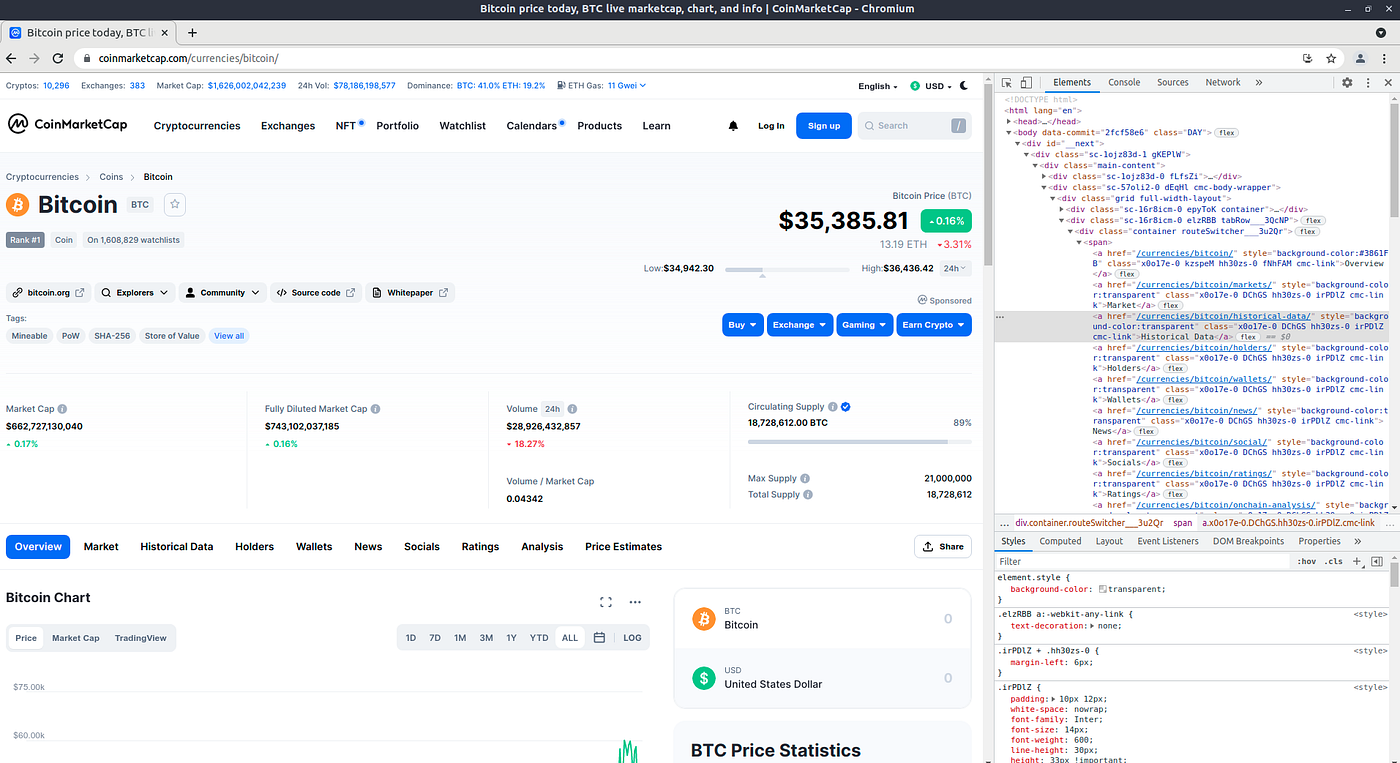
After that, we’ll be seeing the Bitcoin page:
We then look for the “Historical Data” section, which happens to be at:

We click it:
browser.find_element_by_xpath("//a[contains(text(),\
'Historical Data')]").click()
Next we’d like to click the “Date Range” button to select the period of data we want to extract, but a cookie banner might appear over it so we have to close it before proceeding. To do this, if the banner popped up, we look for it’s path and click it:

browser.find_element_by_xpath("//div[@class='cmc-cookie-policy-banner__close']").click()
Now we can look for the “Date Range” button’s path :
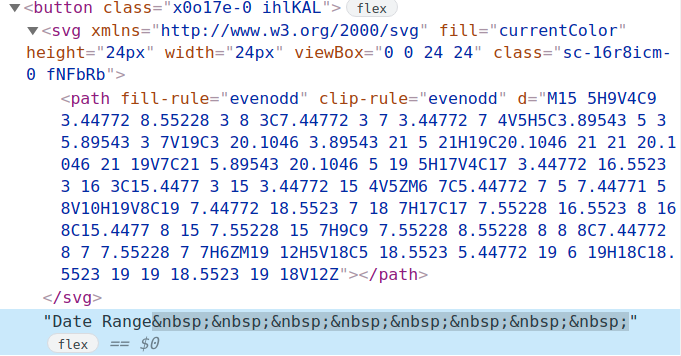
Click it:
browser.find_element_by_xpath("//button[contains(text(),\
'Date Range')]").click()
Inspect the predefined date ranges and choose one:
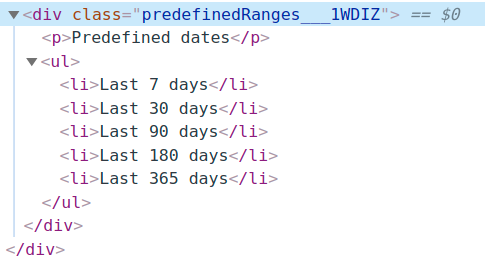
We select the longest period:
# Select the 365 days date range
browser.find_element_by_xpath("//div[@class='predefinedRanges___1WDIZ']/ul/li[contains(text(),'365')]").click()# Click the continue button
browser.find_element_by_xpath("//button[contains(text(),\
'Continue')]").click()
Note that in this case we’ve added two filters to the Date Range button path, a class filter for the div, and a text filter for the element of the list. You should always try to avoid using many filters, as the exposure to minor web changes increases the more restrictions you impose on your request. In this case, the following would have been better:
browser.find_element_by_xpath("//div/ul/li[contains(text(),\
'365')]").click()
What if we wanted more than 365 days of data? We could either try to select a customized period or simply click the “Load More” button at the end of the page as many times as necessary. We’ll try the latter as you’ll probably face scenarios where there are no predefined filters available.
First, to make sure the button is reachable (sometimes we need it to be visible in order to click it), we scroll to the bottom of the page by using the execute_script method to run a javascript instruction:
browser.execute_script("window.scrollTo(0,document.body.scrollHeight);")
The first term of “scrollTo” refers to the x-axis and the second one to the y-axis. If you wanted to scroll to an arbitrary height, you could use positive or negative values (positive for top-down and negative for bottom-up scrolling):
arbitrary_height=10
browser.execute_script(f"window.scrollTo(0, {arbitrary_height});")
Now that we are sure we can reach the “Load More” button, we write a loop where we scroll to the bottom of the page each time we click it.
for i in range(10):
    browser.find_element_by_xpath("//button[contains(text(),'Load More')]").click()
    time.sleep(np.random.uniform(1.1,1.2))
    browser.execute_script('window.scrollTo(0,document.body.scrollHeight);')
    time.sleep(np.random.uniform(1.1,1.2))
You’ll notice that between each action there are pauses of random intervals (in seconds). This is a good practice to follow, as it gives time for the page to respond and allows you to adjust the scraping speed to avoid sending too many requests in a short period of time.
5- Extract the data
We’ve finally loaded the page that contains the table with all the historical data we wanted:

We’ll proceed to extract it by briefly making use of Scrapy. In the following chunk of code, we get the complete HTML content of the current page by using the page_source method of Selenium. Then, we use Scrapy’s Selector to query the desired parts of the source. As we’ll see, this provides a fast and easy data extraction experience.
# Define the Scrapy Selector object
selenium_response_text = browser.page_source
scrapy_selector = Selector(text=selenium_response_text)
After inspecting the path to the table’s rows and columns following the previous method, we start with the extraction:
# Get the names of the columns
col_names = scrapy_selector.xpath("//table[contains(@class,\
'cmc-table')]//th/text()").getall()# Get the number of columns
n_columns = len(col_names)# Get the row values
rows_values=scrapy_selector.xpath("//table[contains(@class,\
'cmc-table')]//tr/td/text()").getall()# Convert list to array
rows_array=np.array(rows_values)# Specify the number of equally sized chunks
number_of_chunks=len(rows_array)/n_columns# Make the partitions
partitions=np.array_split(rows_array, number_of_chunks)# Create the DataFrame
df=pd.DataFrame(data=partitions,columns=col_names)# Save the token associated with this extraction
df["Token"]=token
As you can see, to get the data from the table we use the Scrapy Selector’s method “xpath”. The syntax is almost the same as Selenium’s “find_element_by_xpath”. However, we can now directly get the text by specifying “/text()” at the end of the path (if you’d wanted to extract the class you could place “/@class instead” of “/text()”).
During the process we get the number of columns, their names and the row values (a list that has all the rows together). As per the extraction, we know that we have 7 columns, so the row values list could be broken down into partitions of size 7 to distinguish the sequence of values that belong together. Then, we turn the list into an array to obtain the number of equally sized chunks, make the partition and create the DataFrame.
6- Extend the working example to other tokens
After making sure the pipeline works for a specific case, we’ll turn the previous steps into a function that can gather historical data of other coins. You can check the “historical_data” function in the repository.
Run the function for several tokens:
# Specify the tokens to look for
tokens=["BTC","ETH","ADA","DOGE"]# List to save DataFrames
token_data=[]for token in tokens:
    token_data.append(historical_data(token=token,
                      timeframe=365,
                      max_loadings=10))results=pd.concat(token_data).reset_index(drop=True)
results.sample(8)

7- Bonus: Get the top 24hr Gainers
To showcase other Selenium functionalities, we’ll get the top 24hr Gainers data. To achieve this we first need to place the pointer over the “Cryptocurrencies” button.
button=browser.find_elements_by_xpath("//span[contains(text(),
\'Cryptocurrencies')]")[0]
Once again we repeat the inspect process to find the path, and then save the WebElement into the “button” object. Here we are using the “find_elements_by_xpath” method, and as we receive a list, we have to specify the element we want to save (note that this is helpful when we have several items that match the same path, and we want to get a particular one).
Given that we now have the button to which we’d like to hover over, we call Selenium’s ActionChains class. You can use it whenever you need to mimic complex behaviour such as hovering over menus or items to display hidden content that wouldn’t be available just by clicking the element.
# Define an instance of ActionChains that takes the browser
action=ActionChains(browser)# Pass the button to the action object and perform the move action
action.move_to_element(button).perform()# Give a random time wait to continue
time.sleep(np.random.uniform(1.5,2))# Click the Gainers & Losers options in the hidden menu
browser.find_element_by_xpath("//h6[contains(text(),\
'Gainers & Losers')]").click()
Now that we are in the “Gainers & Losers” section, we can see that there are 2 tables (one for the Top Gainers, and another one for the Top Losers). So we need to specify which table to scrape. For this example we’ll look for the Top Gainers data:

Here we have to specify that an h3 element that comes after a div must match the text “Top Gainers” and then, 2 levels below the div we have to look for a table with a class that at least contains “cmc-table”. We then proceed to extract the column and row data but without using Scrapy’s Selector:
token_type="Top Gainers"# Identify the columns and rows paths for the desired token_type
columns_path = browser.find_elements_by_xpath(f"\
//div/h3[contains(text(),\
'{token_type}')]/..//table[contains(@class,'cmc-table')]//th")rows_path = browser.find_elements_by_xpath(f"\
//div/h3[contains(text(),\
'{token_type}')]/..//table[contains(@class,'cmc-table')]//tr/td")

# Get number of columns and their name
columns=[]
for column in columns_path:
   columns.append(column.get_attribute("textContent"))n_columns=len(columns)# Get the rows values
rows_values=[]
for row in rows_path:
   rows_values.append(row.get_attribute("textContent"))
In summary, we get the paths for the columns and rows, and then iterate through the elements in each of them. With each iteration we extract the text of the element by using the method get_attribute (if instead you wanted to extract a property value of an element such as the class or the id, you could use the method get_property).
We repeat the same for the tokens:
# Extract the tokens
tokens_path=browser.find_elements_by_xpath(f"//div/h3[contains(text(),\'{token_type}')]/..//table[contains(@class,'cmc-table')]\
    //tr/td//p[@color='text3']")tokens=[]
for token in tokens_path:
  tokens.append(token.get_attribute("textContent"))
Finally we ensamble the results like in the previous example:
# Specify the size of the chunks to partition the list of row values
rows_array=np.array(rows_values)
size_of_chunks=len(rows_array)/n_columns# Make the partitions
partitions=np.array_split(rows_array, size_of_chunks)# Create the DataFrame and add the token column
df=pd.DataFrame(data=partitions,columns=columns)
df["Token"]=tokens
For the last step, we clean the “Name” column that had the token name concatenated and show a preview of the results:
df["Name"]=df.apply(lambda s: re.sub(f'{s["Token"]}$', "", s["Name"]),axis=1)df.head()

A complete function to change periods and select the Top Losers is provided in the repository.
Concluding remarks
In this short guide we explored the main functionalities provided by Selenium to manage dynamic websites. We’ve seen that this tool can be used to mimic human actions such as scrolling, hovering over an element, sending keys to a search form, and extracting data. Furthermore, we showed an example of how to combine Scrapy’s Selector with Selenium, for a faster scraping experience.
Hopefully you’ll be able to incorporate some of this in your next scraping project!